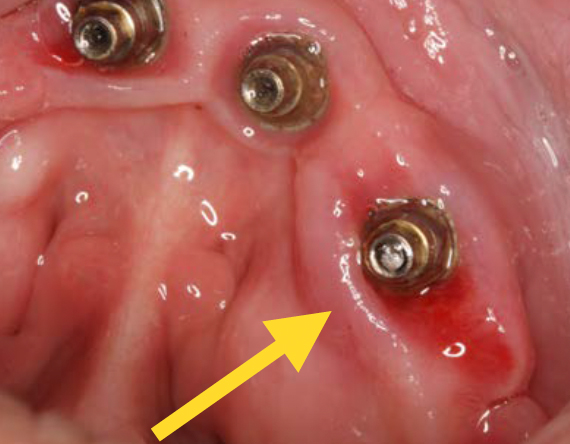
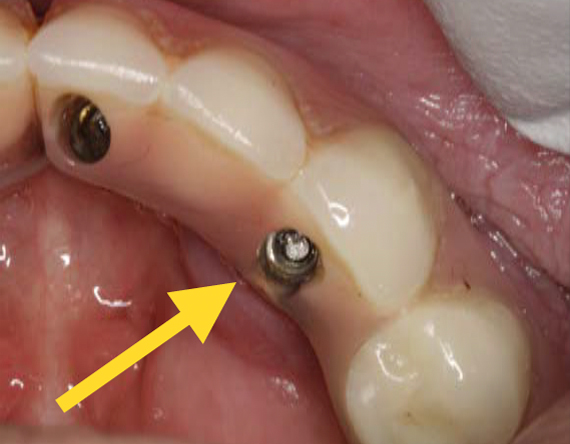
Ever faced the dreaded screw fracture in dental implants? We’ve all been there, and it’s a challenging situation to manage. But fear not! In this issue, we’ll dive into the causes of screw fractures, the solutions, and prevention strategies to keep your patients smiling confidently. Let’s get started!


Why Do Screw Fractures Happen?
- Material fatigue: Repeated loading and unloading cycles can cause stress and fatigue in the screw.
- Excessive Occlusal Forces: Bruxism or malocclusion can subject the implant components to excessive forces.
- Incorrect torque: Over-tightening or under-tightening of the screw can cause uneven stress distribution and increase the risk of fracture.
- Non-passive fit: A poor fit of the restoration to the implant can cause stress on the screw.
How Do You Retrieve a Fractured Screw?
I’ll take you through the steps I generally go through when faced with a fractured screw.
- Reverse it: First start with an explorer, see if you can engage a sliver of the screw head, and use a counterclockwise movement to unscrew it.
- Ultrasonic instruments: This can be used to vibrate the screw out of the channel.
- Slot driver: If the screw is not budging, use a 1/4 round bur in a high speed handpiece to carefully drill a slot into the head of the screw. It is important not to knick the inside of the implant. Then use a straight driver (like a flathead screwdriver) to engage the screw and unscrew it.
- Specialized retrieval kits: You can try a retrieval kit sold from several implant companies, but I have not had much success.
- Bury the screw: At a last resort, if the screw is short and will not reverse out of the implant, try torquing the remaining screw clockwise, further into the implant. Then you can try to fit a new screw on top of it. Make sure to take a radiograph to ensure the screws are not touching. (Feel free to call me for help if you get to this step!)
Preventing Screw Fracture
- Material Selection: Consider using screws made from stronger materials, such as titanium alloy.
- Occlusal guards and Botox: Prescribe occlusal guards and even botox (in masters) for patients with bruxism.
- Wider Screws: Using wider screws may provide better resistance against screw fracture. Consider wider implants when possible. Consider restoring direct to the implant instead of using angle-correcting abutments with small screws. (*If you’d like tips related to this, contact Dr. Eskow!)
- Easily Accessible Screw Heads: In complicated cases (ie: full-arch prosthesis on a bruxer), consider using an implant which offers easier access to the screw, such as external hex implants.
- Proper torque: Always follow the manufacturer’s published guidelines, and use a calibrated torque wrench!
- Splinted impressions: Anytime you’re restoring one implant connected to another, like in an FDP, always rigidly splint the impression copings together before making the impression so that you create a passive fit in the prosthesis.
Looking for another oppinion on a complex case or procedure? We are here to assist you in whatever ways which are helpful to you. We want to make your jobs easier. Give us a call, send us an e-mail, or shoot us a text. Virginia Prosthodontics loves a challenge and loves making your life simpler. See Our For Doctor’s Page

Recent Comments